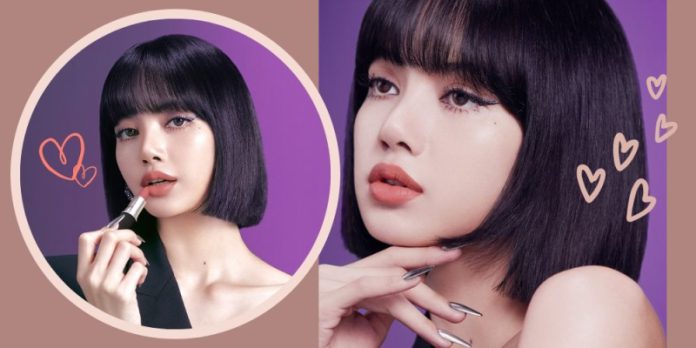
Who doesn’t know about Blackpink? I’m sure all of you already know about this iconic girl band from Korea that has stolen everyone’s hearts. Their songs are very chic and different, that’s why this group become the first international girl band from Korea. Not only popular with the song but they’re also popular with their visual and outfit style.
And I believe you know one of the members that are called Lisa! Yes, she’s very popular with her iconic face and fashion style. Many girls want to be like her because she can look pretty, chic, sweet, and cute at the same time. But you don’t have to do surgery to look like Lisa! All you have to do is just follow her makeup.
So, at this time, we want to tell you about Lisa’s makeup inspired that can make you look pretty and chic! For those who are still a beginner, you don’t have to worry! Because this tutorial is very easy to follow. And this makeup is very suitable to use for attending special occasions. Are you feeling excited about this makeup? Okay, without any for the do, let’s move on to the tutorial!
Lisa Blackpink Makeup Tutorial
1. Change Your Glasses with Contact Lenses
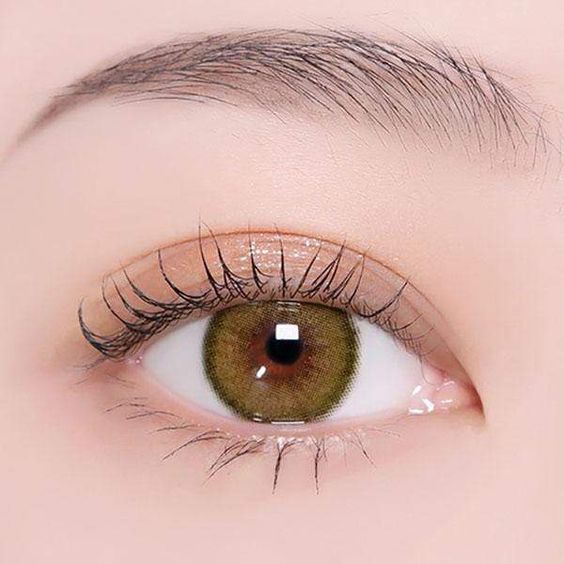
The first step is to change your nerd look into a chic look. For those who wear glasses, you can change it by using contact lenses. It will help you to fix your visual impairment and make you look chicer. And I’m sure you don’t want to go to the party with glasses, right?
Contact lenses have a lot of types and colors, so if you’re still curious to choose the right lenses, let us help you. As you can see from the picture, Lisa wears natural color lenses like light brown or brown with diameters of 14 – 14.5 mm. But you still can adjust it to your favorite or your needs, make sure it looks suitable for you.
2. Prepare Your Skin Well by Using The Right Skincare
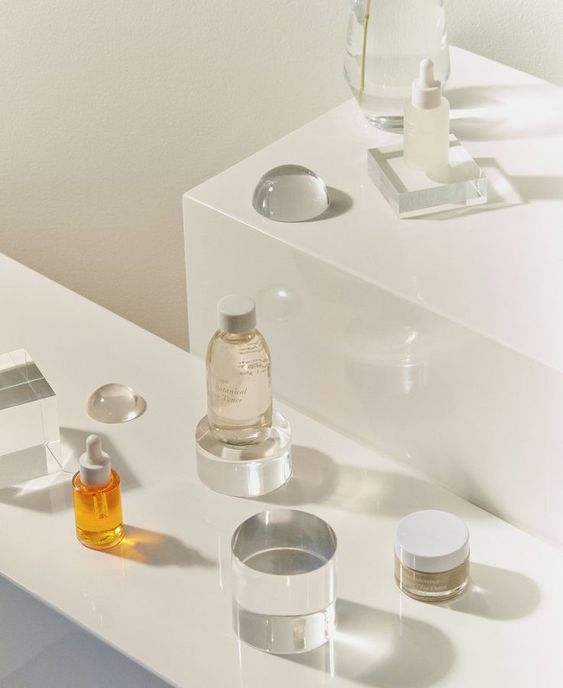
Before putting on makeup, you must prepare your skin well because it will determine the finish of your makeup. So, if you want to have flawless makeup, of course, you need to use skincare. But remember, you have to choose the right skincare based on your skin type.
You don’t have to feel confused because we will give you a tip to choose the right skincare. For those who have oily, you can choose skincare that has a light texture and is water-based to make it easily absorb into your skin. Furthermore, if you have dry skin, you just have to wear skincare that can moisturize and hydrate your skin. Usually, it has a thick and creamy texture.
3. Choose Primer Based on Your Skin Type
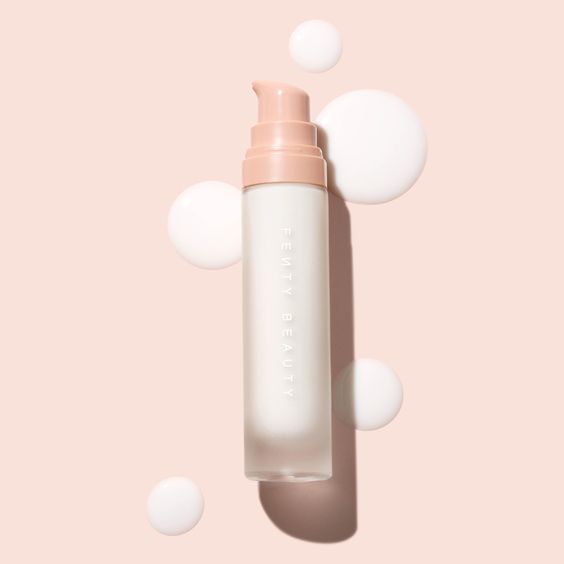
Another tip to make your skin flawless is primer. Primer will you fix your skin problems and make your makeup long-lasting. Therefore, you should choose the right primer based on your skin type. And we will help you to find the right primer for you.
Choose a primer that has a silicone texture for those who have oily skin. Because this texture is good to blur your pores and hold on the oil on your skin. Meanwhile, for dry skin people, you can prefer primer that has a gel or cream texture to moisten or hydrate your skin. If you already found your primer, you can start to apply it to the area that you need like T-zone, cheeks, and chin.
4. Use Foundation to Make Your Skin Flawless
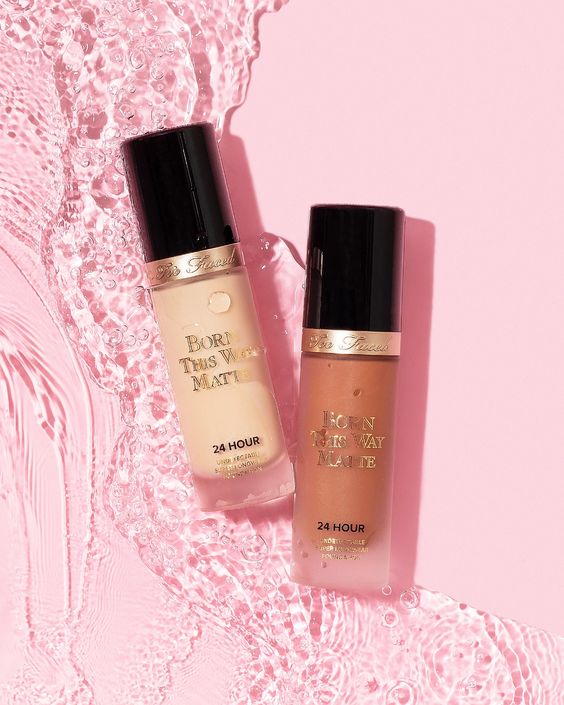
Dreaming of having flawless skin because your skin has so many imperfections? Okay, you can make your dream come true by using a foundation. Foundation is a kind of product that has many types and coverage, so you can adjust it to your needs.
And if you want to wear this makeup for attending special occasions, maybe you can choose medium to full coverage foundation. You can prefer a dewy finish foundation if you have dry skin and a matte finish foundation for people who have oily skin.
Apply the foundation all over your face, and blend it until it looks merged into your skin. You can blend it with a wet sponge for having a natural finish or use a foundation brush if you need the coverage. Make sure you don’t use the product too much to prevent your makeup from getting cracked or greasy.
5. Hide Your Blemishes with Concealer
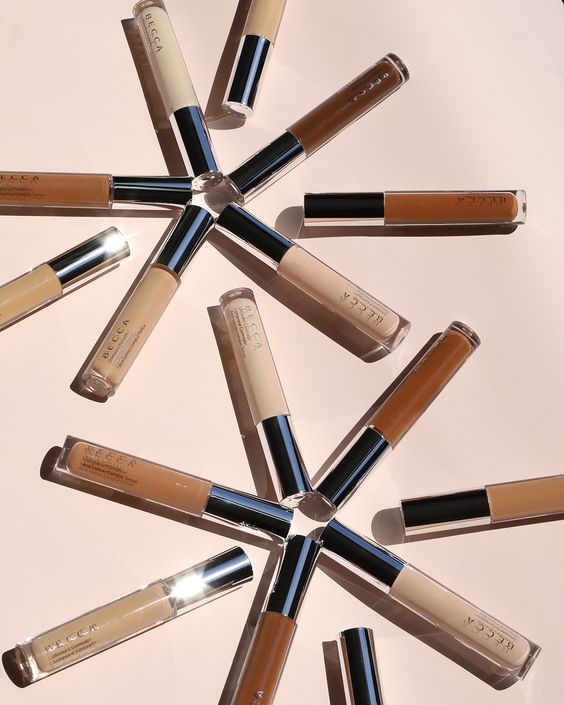
If you have blemishes that can’t be covered by the foundation, you can use concealer as the solution. The concealer contains a higher coverage than the foundation, this is the reason why this product can cover your blemishes very well.
You can use liquid concealer if you’re afraid your makeup gets cracked, but if you really need the coverage, we suggest you choose cream concealer. You can adjust it to your needs and skin condition. If you have already decided which is the right concealer for you, you can start to apply it to the area that needs extra coverage.
6. Set Your Base Makeup Using Powder
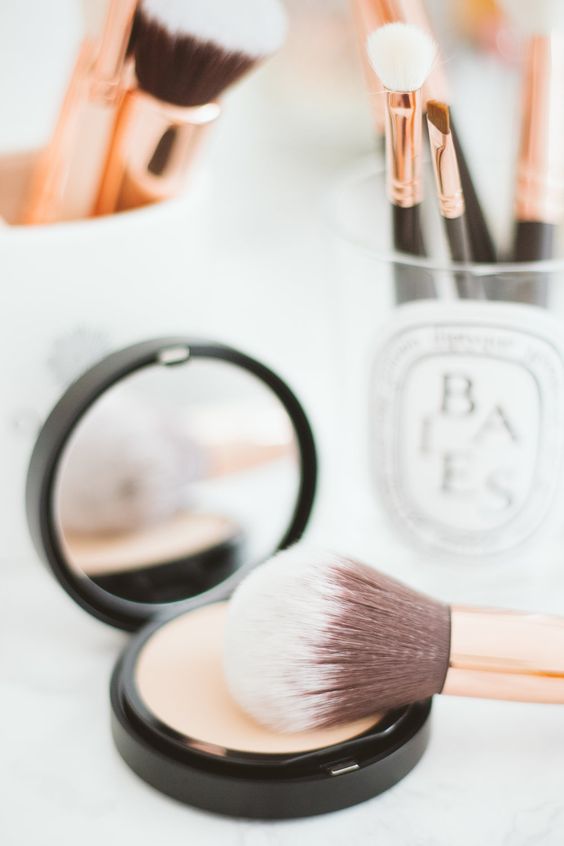
When you feel your base makeup already looks flawless, you can set it immediately using a powder. Powder also has a lot of types, there are loose powder, two-way cake powder, or powder foundation. If you just need to set your makeup, you can use a loose powder. But if you still need the coverage, you can use a two-way cake powder or powder foundation.
Set your makeup with a loose powder on the area that easy to gets cracked or oily. Usually, you can use it on the under eyes, the area where you use the concealer, forehead, and chin. Furthermore, if you have oily skin, you can do a baking technique.
7. Contour to Give a Dimension to Your Face
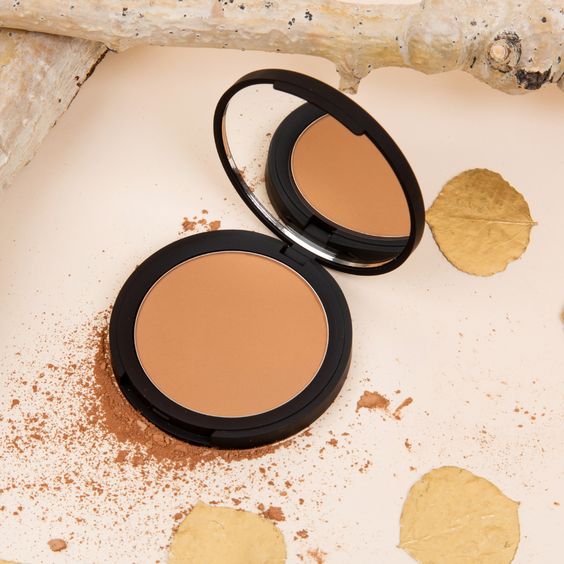
Now you can move on to the contour. Contour has the function to give a dimension to your face, it will give you the face shape that you want. So, you don’t need to waste your money to do surgery, because by using a contour.
Use the shade of contour that is similar to your skin tone to give a natural finish, maybe 2-3 tones under your skin tone. Furthermore, use a large brush and apply it under the cheekbone, jawline, forehead, and nose. Make sure you blend it well to keep the natural look like Lisa’s makeup.
8. Get the Natural Blushy Cheeks
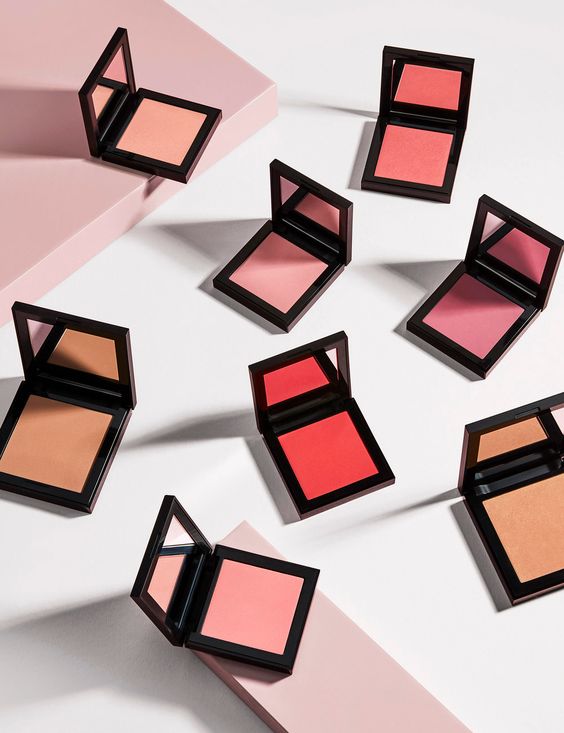
On this makeup, Lisa uses a very natural blush until it looks seems less. This is why her makeup looks so natural but still looks fresh. That’s why we recommend you to choose natural color blush like peach or nude color.
Use a large blush brush and take a little bit of blush. Then, you can continue to apply it on the apple of your cheeks, you can also bring it to your nose to give a cute and natural look. Furthermore, you can blend it until it looks natural.
9. Natural Eyebrows Shape
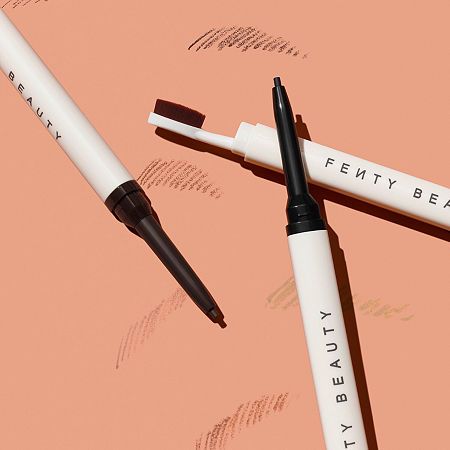
As you can see, even the brows are covered by the bangs, but Lisa wears a natural brow shape. I know you will think this kind of brows doesn’t match the party or special event. But you’re wrong! Because these brows will make you look younger.
Start by brushing up your brows with a spoolie brush. Then, you can set your hair brows by using a mascara brow. After you see the blank space, you can continue to fill in by wearing an eyebrows pencil to keep it natural. Furthermore, for the last step, you can make your brows look neat by concealing the edges.
10. Soft Brown Eyeshadow
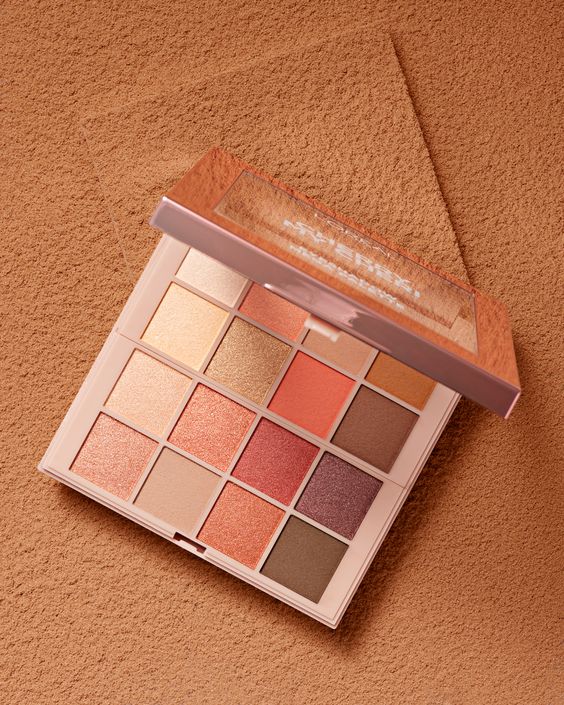
For this makeup, Lisa use natural brown eyeshadow. Yes, I agree with Lisa, because brown can make your eye makeup look soft but still give a shape to your eyes. So, if you want to achieve this eyeshadow look, you can follow this tutorial.
First, you need a light brown eyeshadow all over your eyes. Then, using a darker color put it on the crease area to give a deep eyes effect. And last, you can continue to use shimmer champagne eyeshadow on the inner corner. Do the same thing to the lower eyes!
11. Glittery Eyeliner Looks to Make You Look Chic
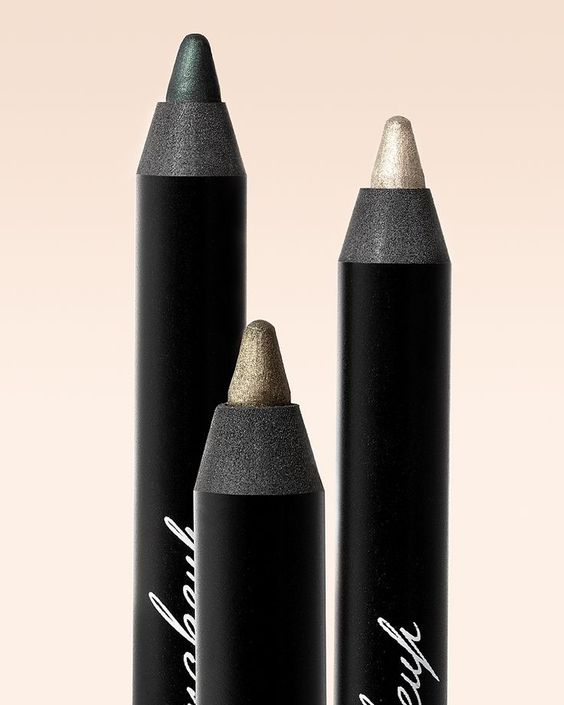
For the eyeliner step, Lisa use two types of eyeliner which are black eyeliner and glitter eyeliner. This has the function to make the eye makeup looks pop and more eye-catching. But, if you don’t like to use glitter eyeliner, you may skip it.
Start by drawing the line from the inner corner to the outer corner. Then, at the end of the eyes, you can make cat eyeliner to make your eyes look longer. For the glitter eyeliner, you can draw above the black eyeliner and follow the line.
12. Finish Your Eye Makeup with False Lashes
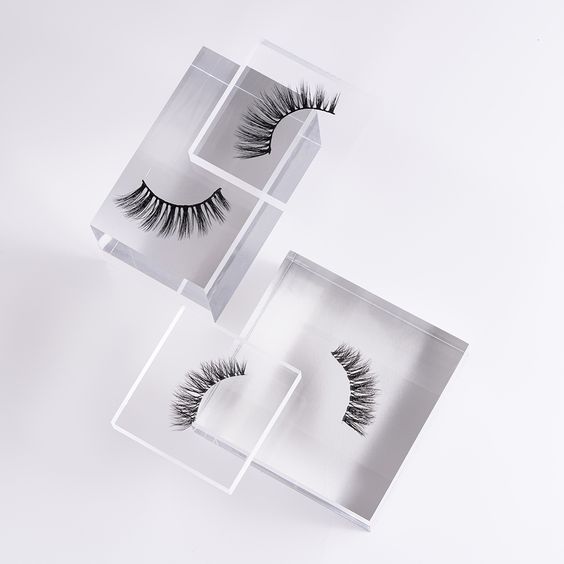
The last step of eye makeup will turn your eye makeup to another level. Do you know what it is? Yes, you’re right! False lashes are the answer. Because false lashes are the thing that can make your eyes look bold and pretty.
Before you put on the false lashes, you can curl your lashes first by using an eyelash curler. Be careful because this step will hurt your eyes. Then, put on the mascara on the upper and lower lash. Lastly, you can start to apply false lashes and choose a natural shape to prevent a tacky look.
13. Get the Fake Glowing Skin by Using Highlighter
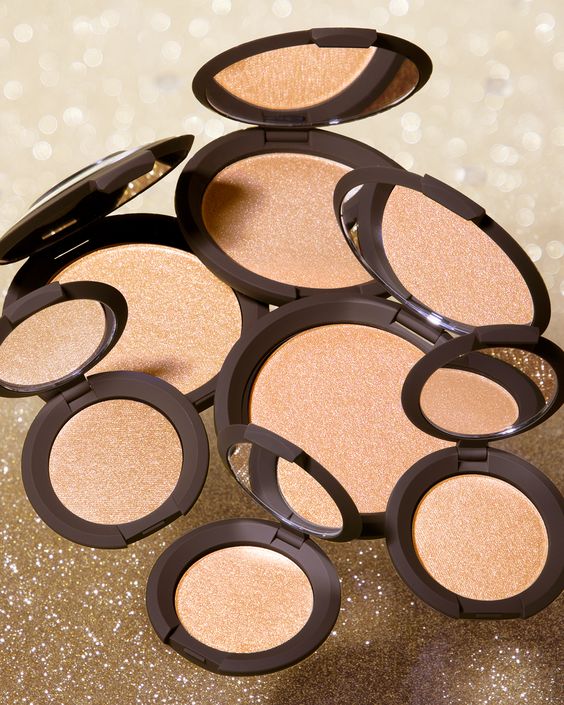
Now for glowing skin effects, you can put on the highlighter. Besides that, it can also help you to give a dimension to your face. You can choose the shade of highlighter that’s similar to your skin tone for having a natural finish look.
Champagne color highlighter for you who have light skin. Then, gold color highlighter if you have dark skin. Furthermore, rose gold color a highlighter for those people who have pink undertone skin. You can apply a highlighter on the highest point of your face, like the cheekbone, nose, brow bone, and chin.
14. Use Nude Lipstick to Keep the Natural Look
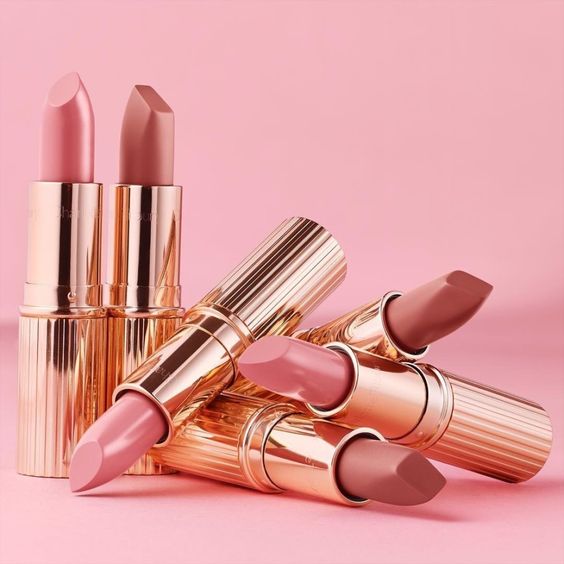
For the lipstick, in the photo, Lisa uses nude lipstick that can make this makeup look more natural. But you can also change it to another color if you don’t like to use nude lipstick. Or even, you can try to do ombre lips.
You can conceal the dark line on your lips first using a concealer. After you blend the concealer, you can start to put nude lipstick all over your lips. For you who want to do an ombre lip, you can continue to apply darker color lipstick in the middle of your lips. Don’t forget to blend it until it looks like the gradation.
15. Setting Spray to Lock Your Whole Makeup
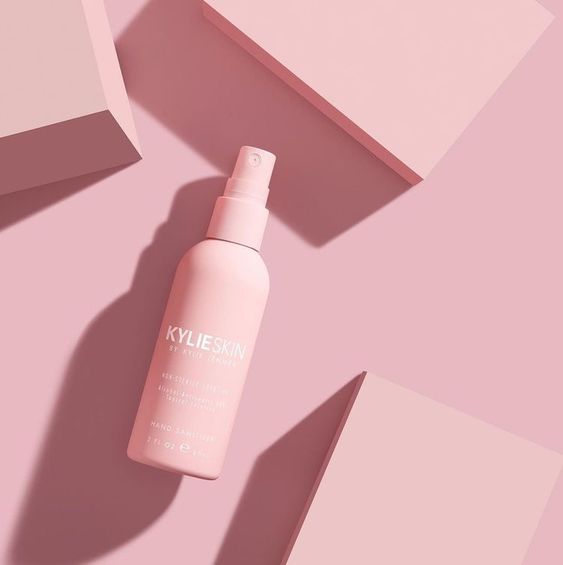
You don’t want all of your effort to be useless, right? So, you can make your makeup long-lasting and flawless by using a setting spray. This is the kind of product that people think is not important but actually, it is!
Choose a setting spray based on your skin type to get the maximal result. Dewy finish setting sprays for people who have dry skin because it can give hydration to your skin. Meanwhile, for oily skin people, you can prefer a matte finish setting spray to hold the oil on your skin.
Your makeup is done! What do you think? Have you felt you already look like Lisa Blackpink? I believe you feel it! Now you’re ready for attending any special occasion with a confident feel because this makeup will catch everyone’s eyes.
Even if you are still a beginner, I’m sure you can follow this tutorial easily. Moreover, you don’t need a lot of makeup products that will make you feel confused. So, I hope you can follow this tutorial and enjoy the topic about how to look like a Lisa Blackpink or Lisa Blackpink makeup inspired.

